*To install and use the printer you MUST be located at a PPG Office and connected to the PPG Wifi: ppgWireless*
*The PPG Printer is not compatible with Chromebooks or PC's that are in S Mode*
Installing the Printer Driver
Click here to download the PPG Printer Driver.
*For Fremont and the Vancouver Downtown offices click here for the Printer Driver
Under Choose Other OS, Select Windows 10

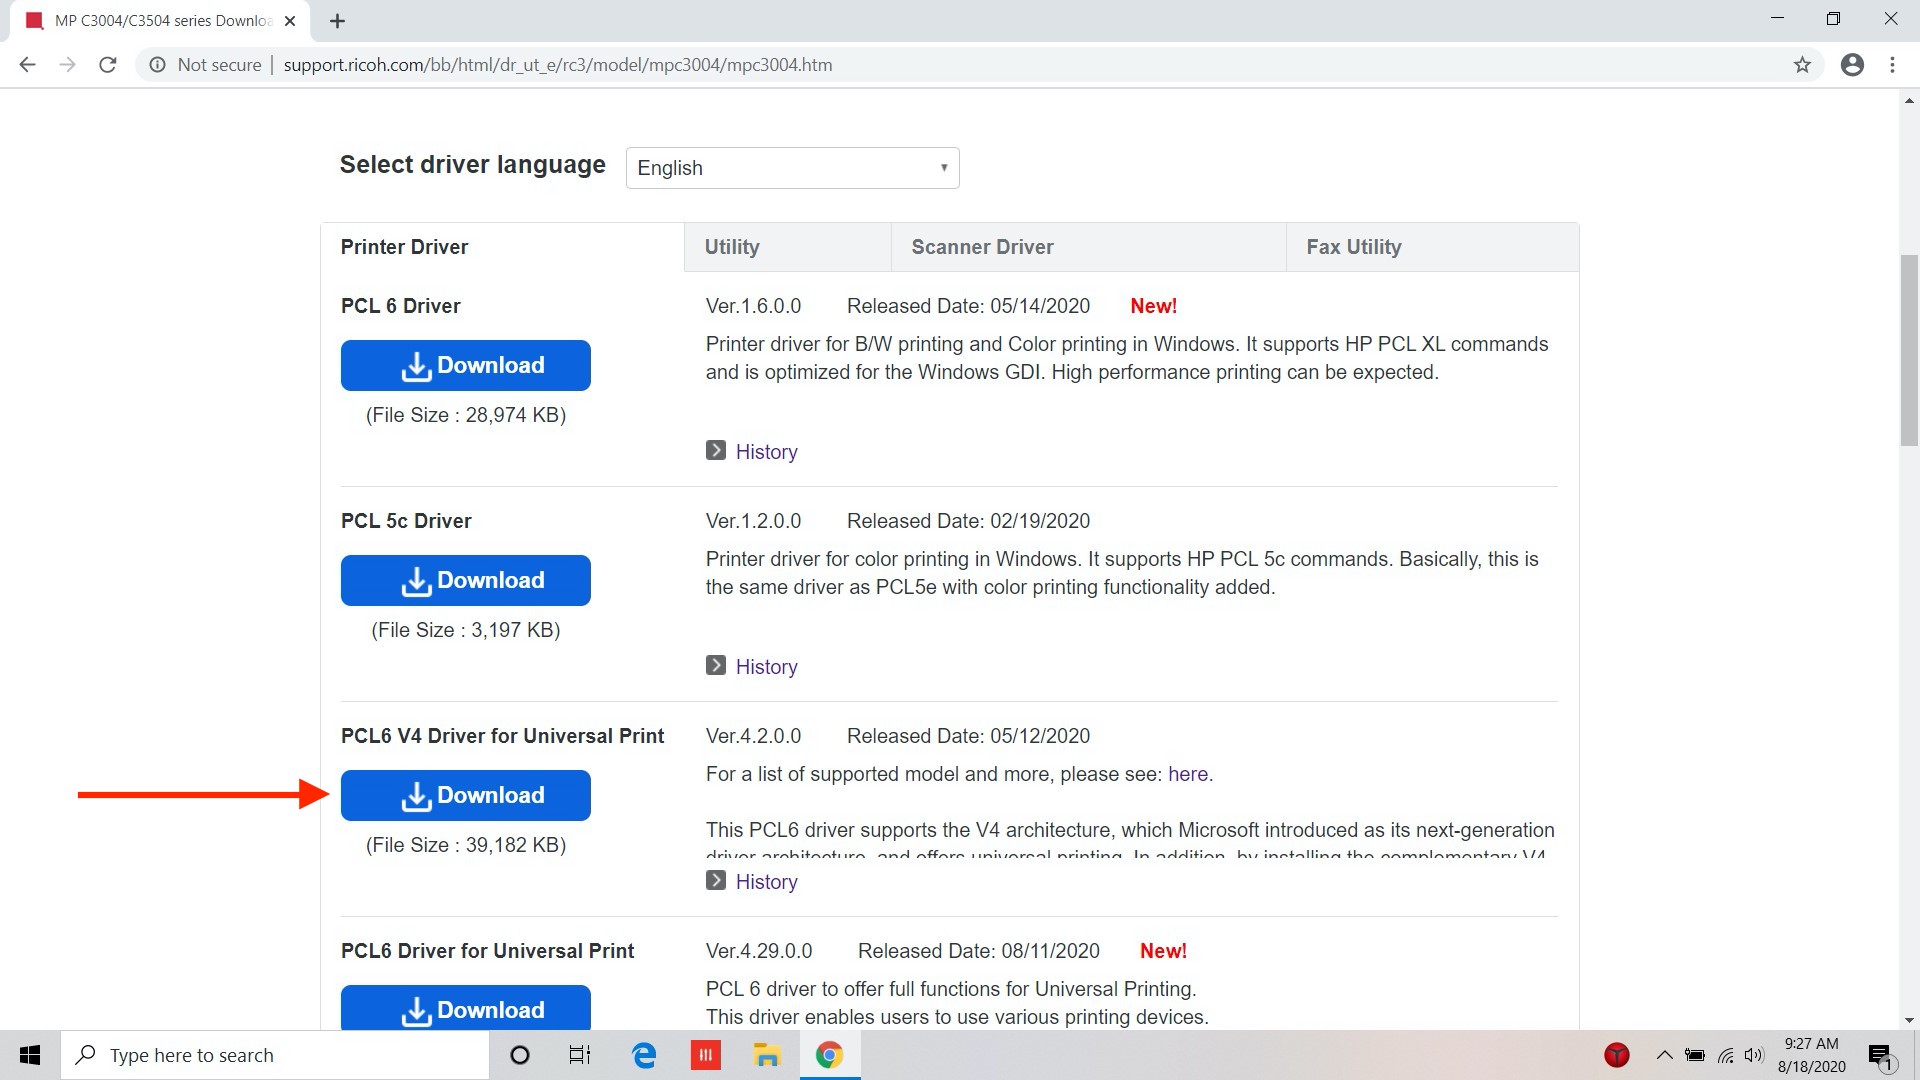
Under PCL6 V4 Driver for Universal Print, click download:
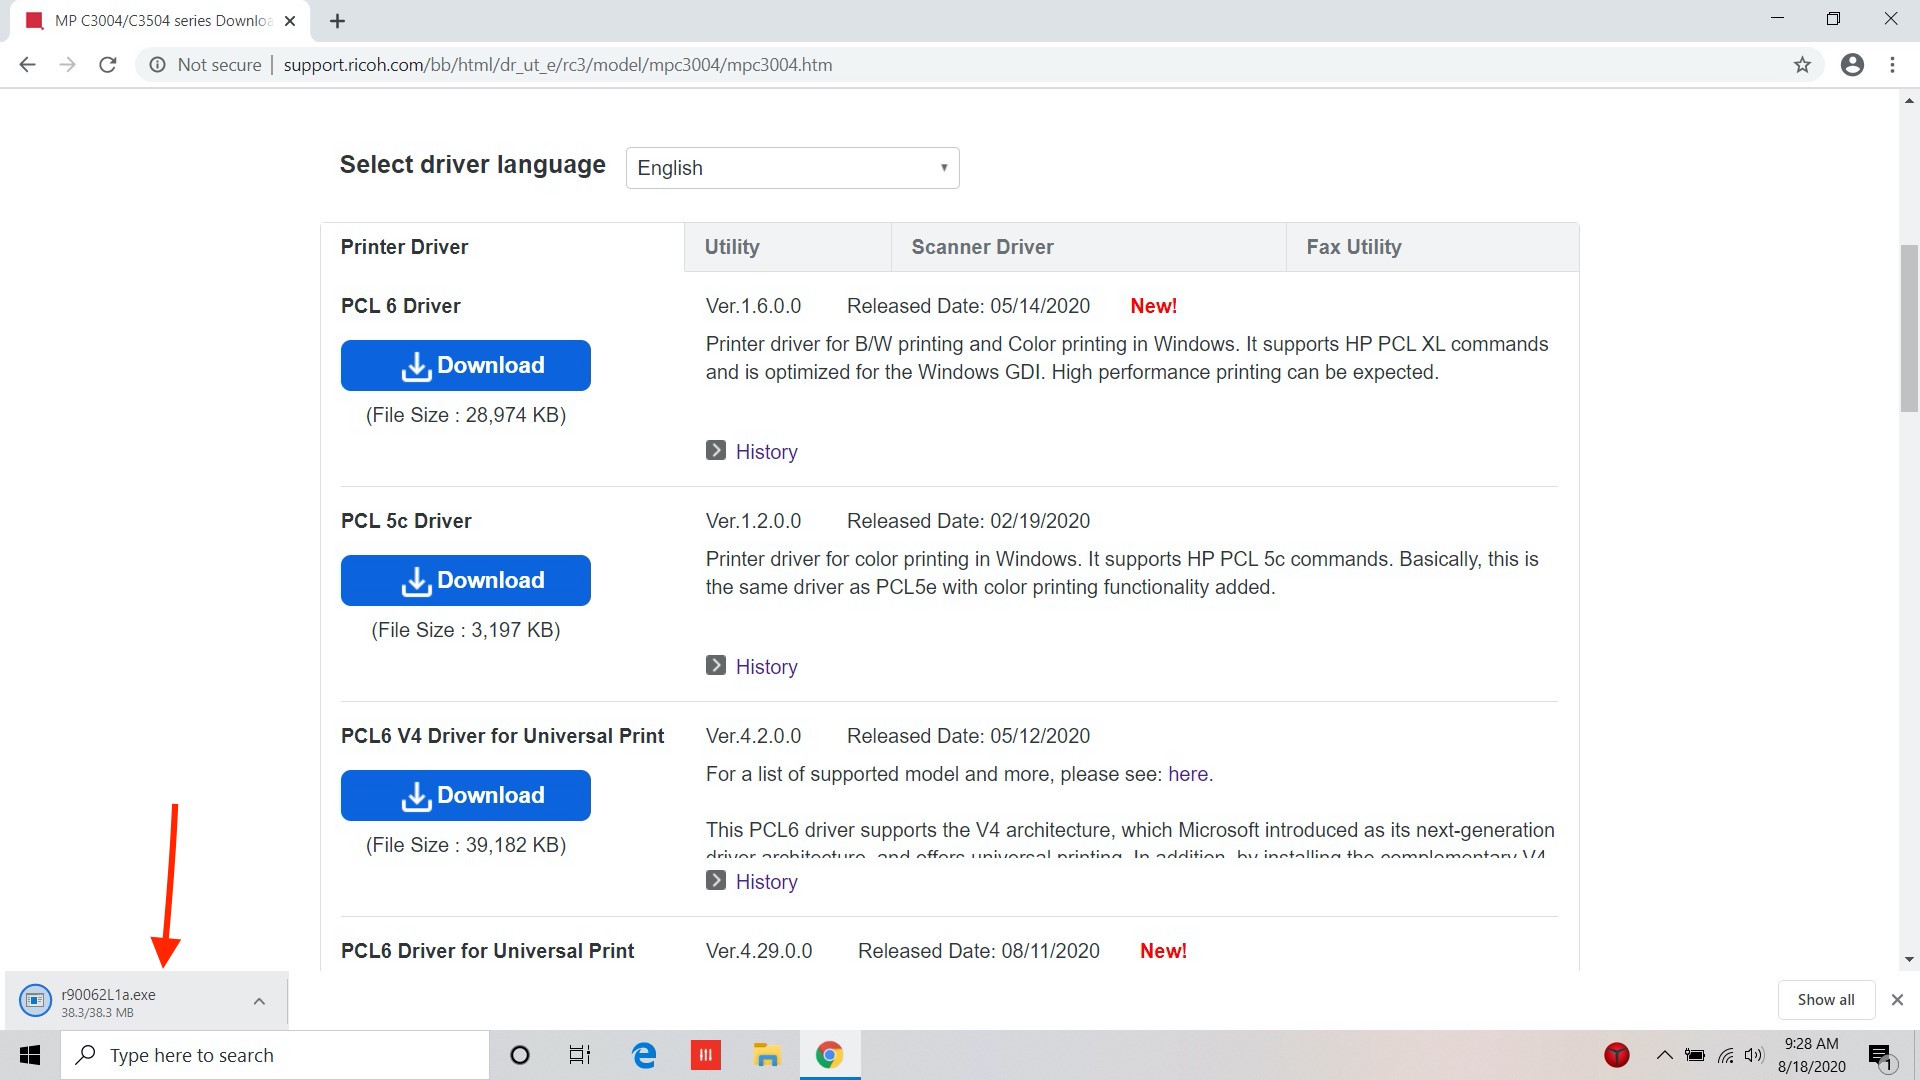
Open the downloaded File:
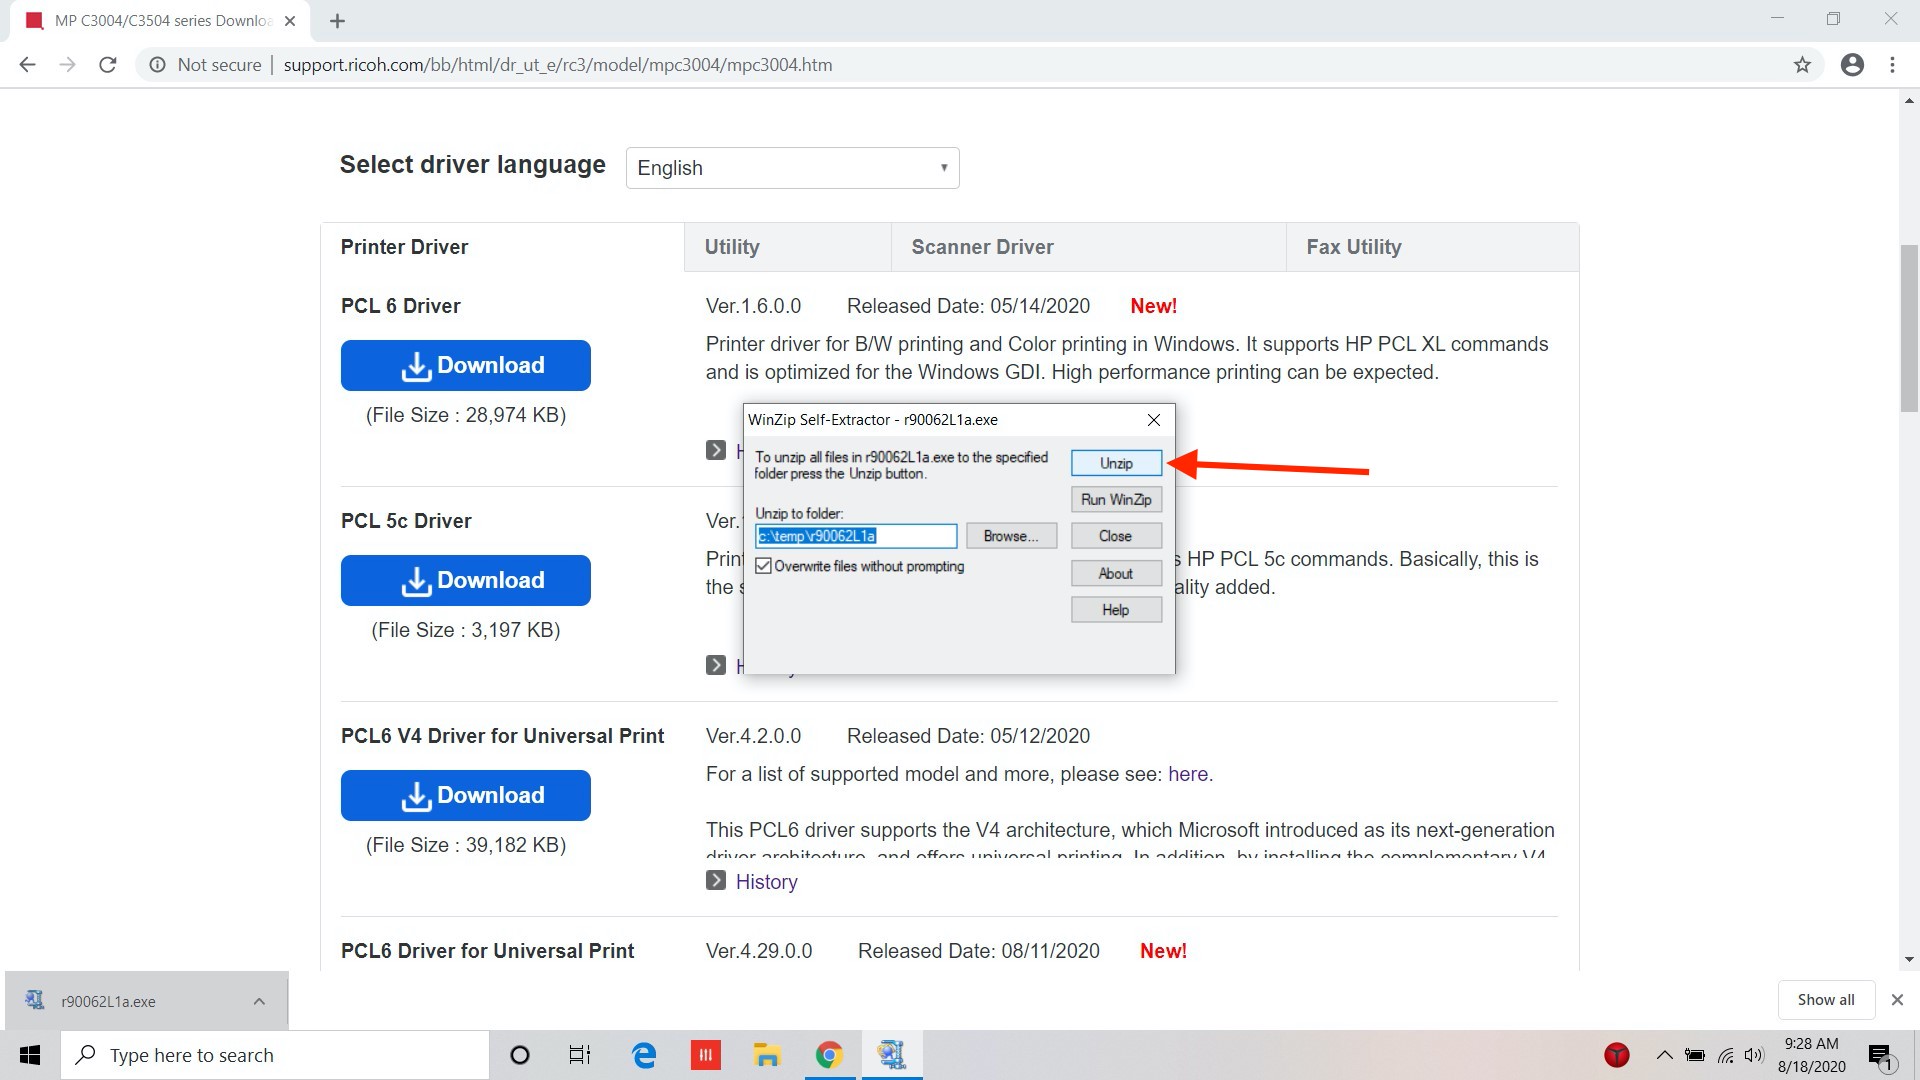
Once open, click Unzip.
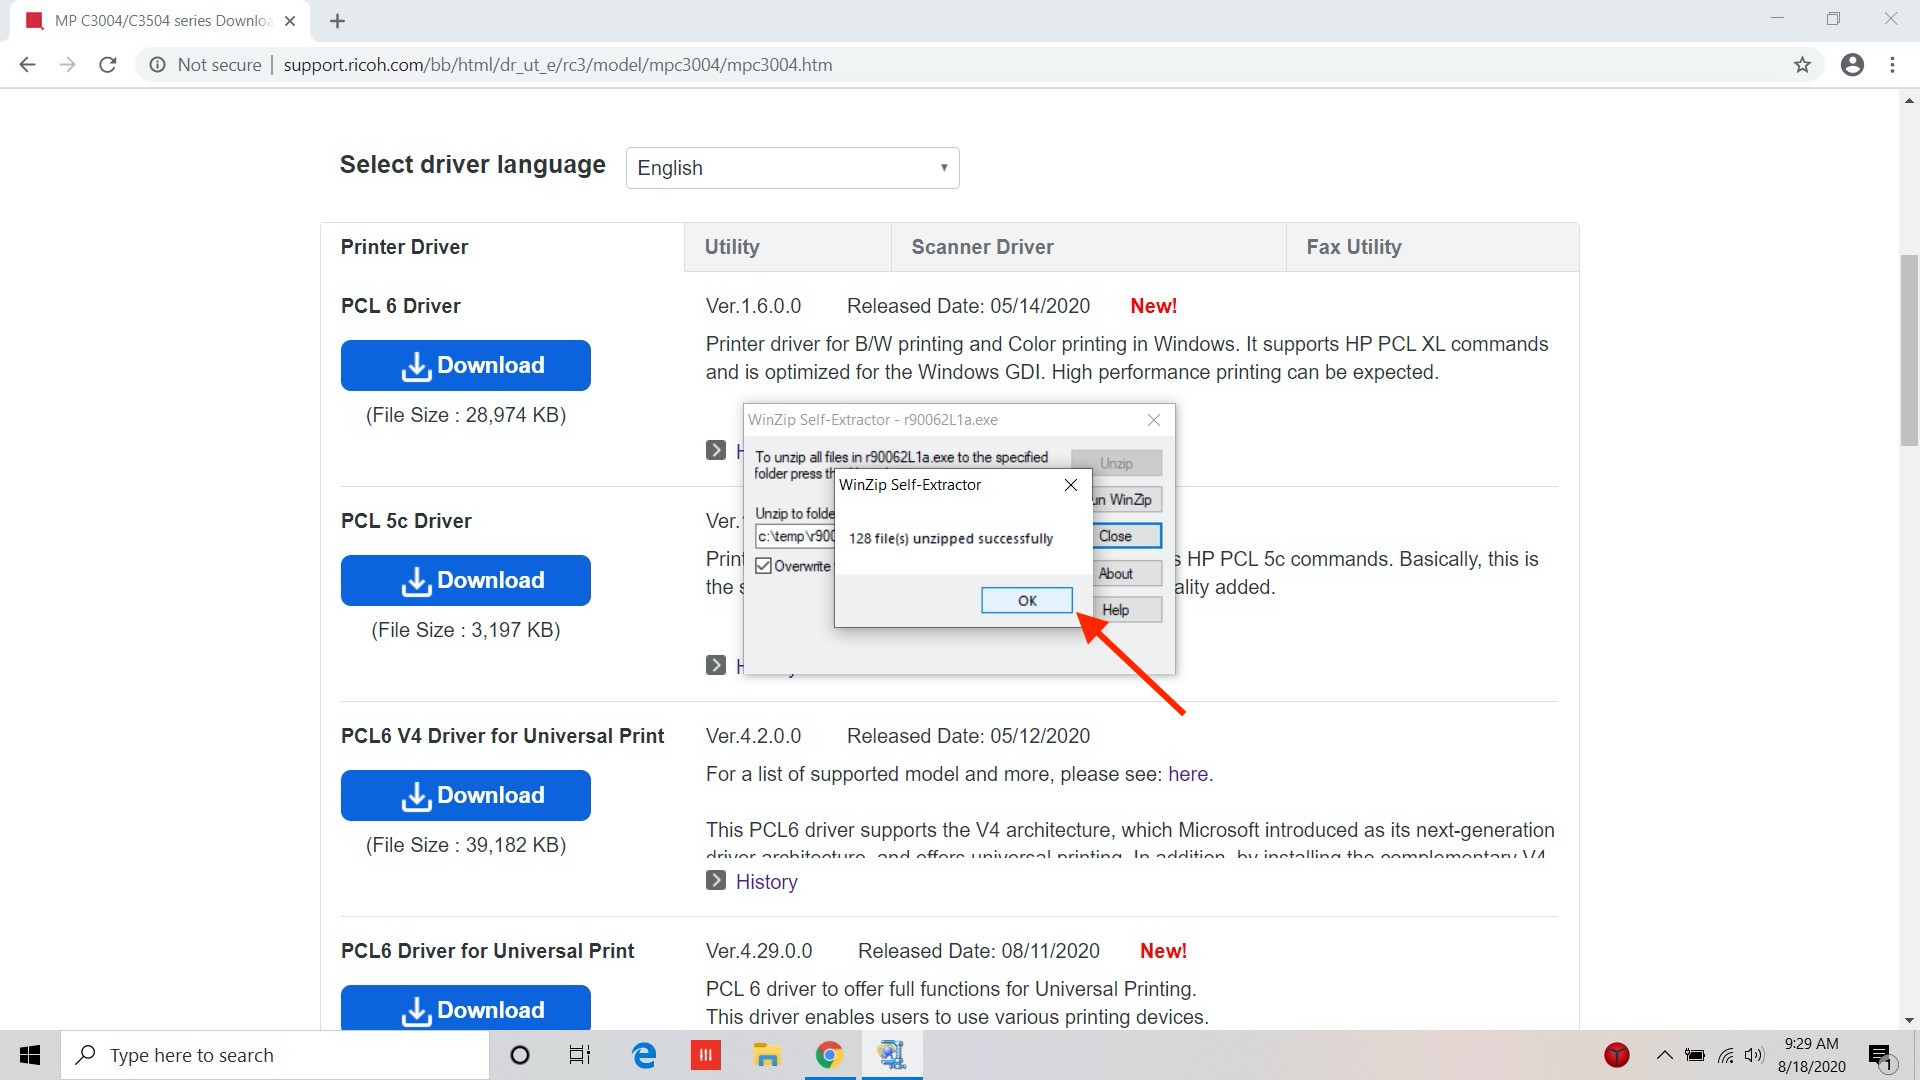
When the files finished unzipping, click OK:
Open up File Explorer and open the Windows C Drive:

Open up the "temp" folder under the C drive:

Click on the folder that you unzipped:

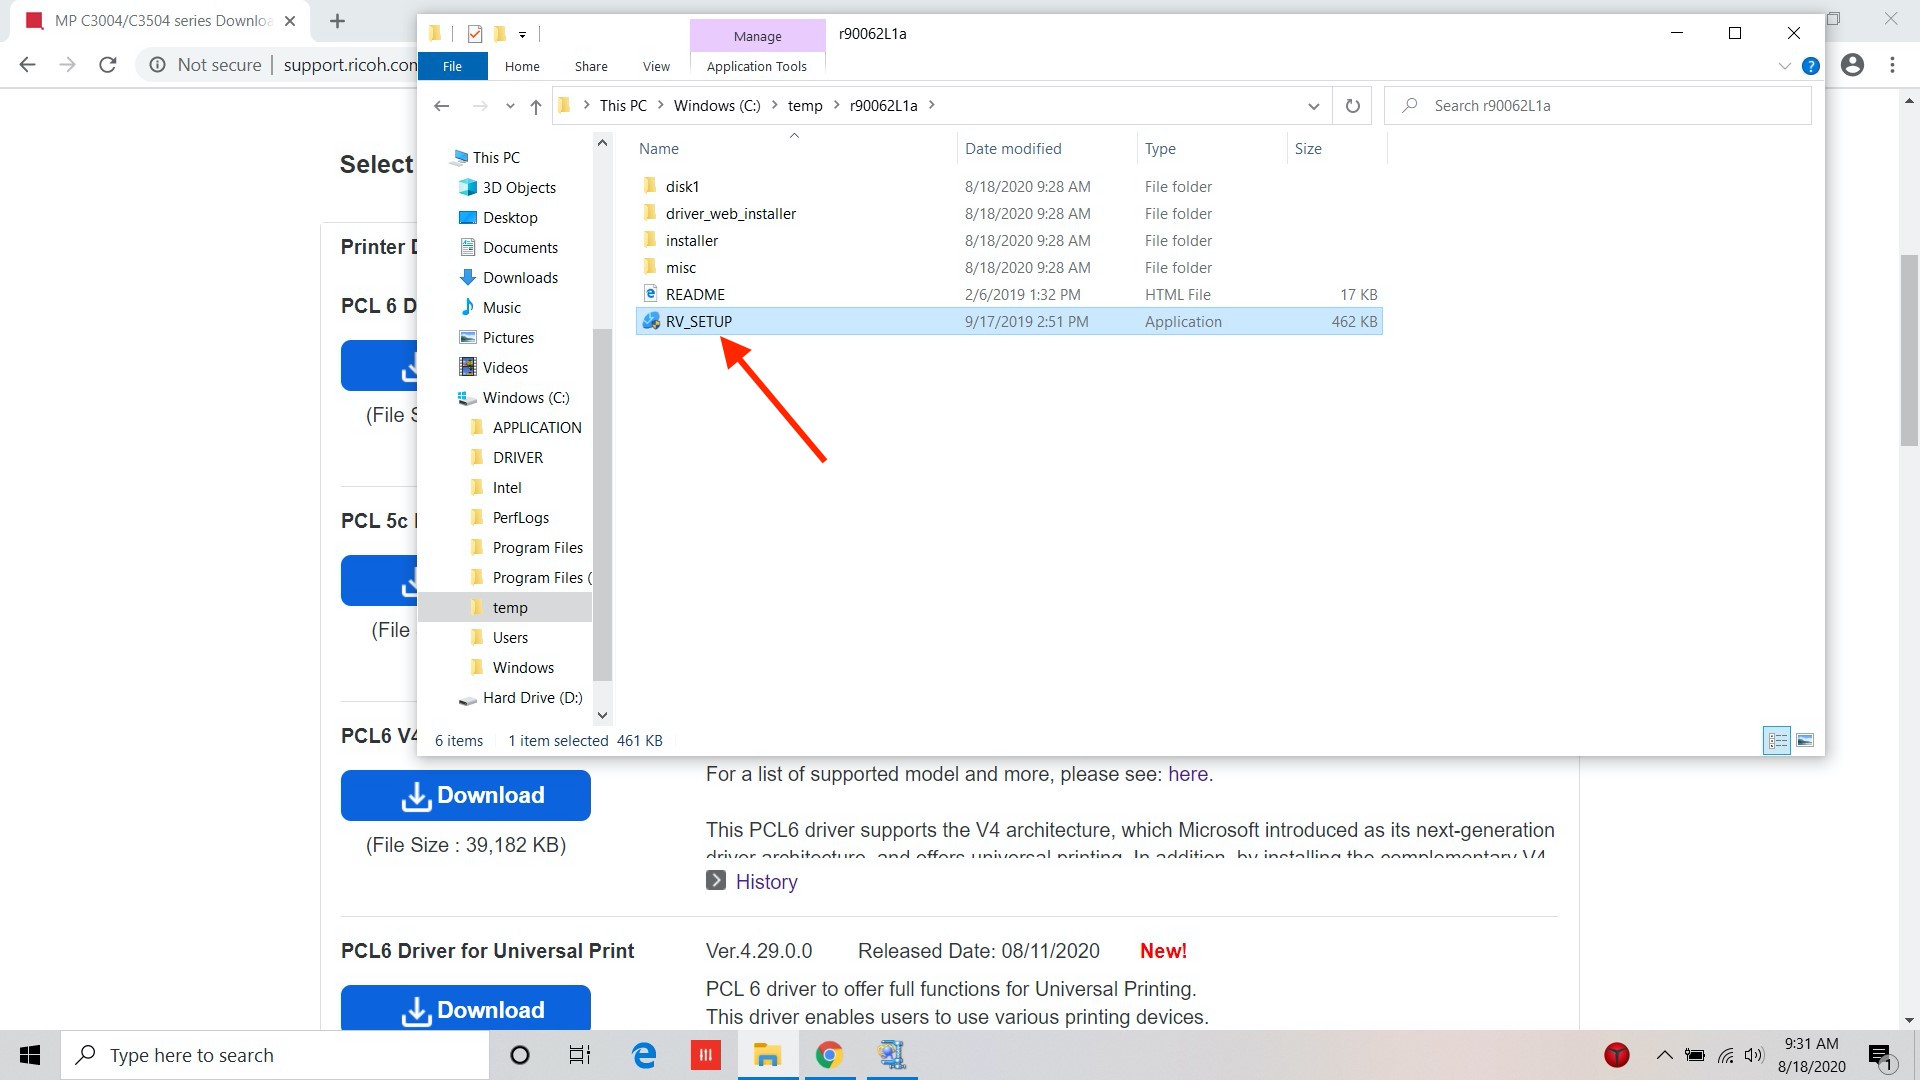
Open RV_Setup:
Click "Agree and Go to Next"

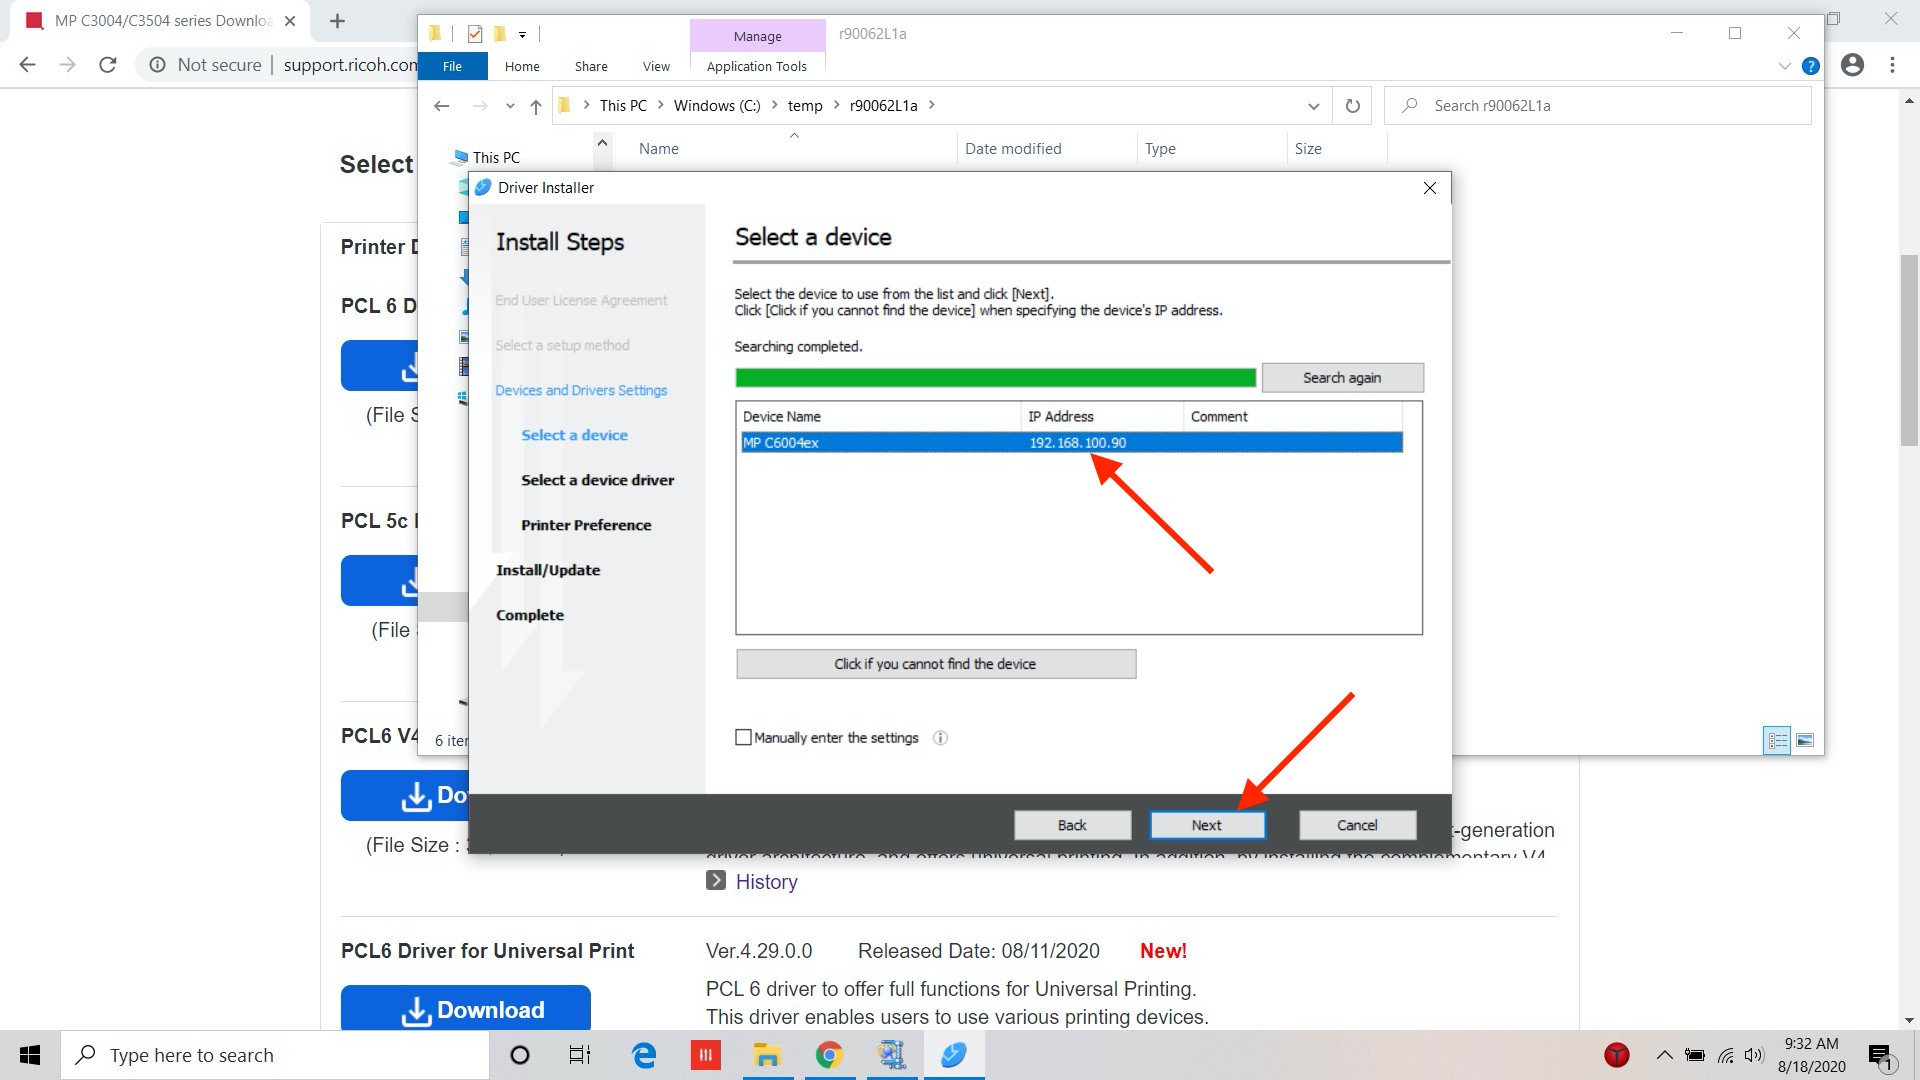
Click Next:

Select the printer with the IP address 192.168.100.90. Make sure it is highlighted and hit next.
Click Next, you do NOT need to install device software manager.

Click Finish

Adding your Printer Code
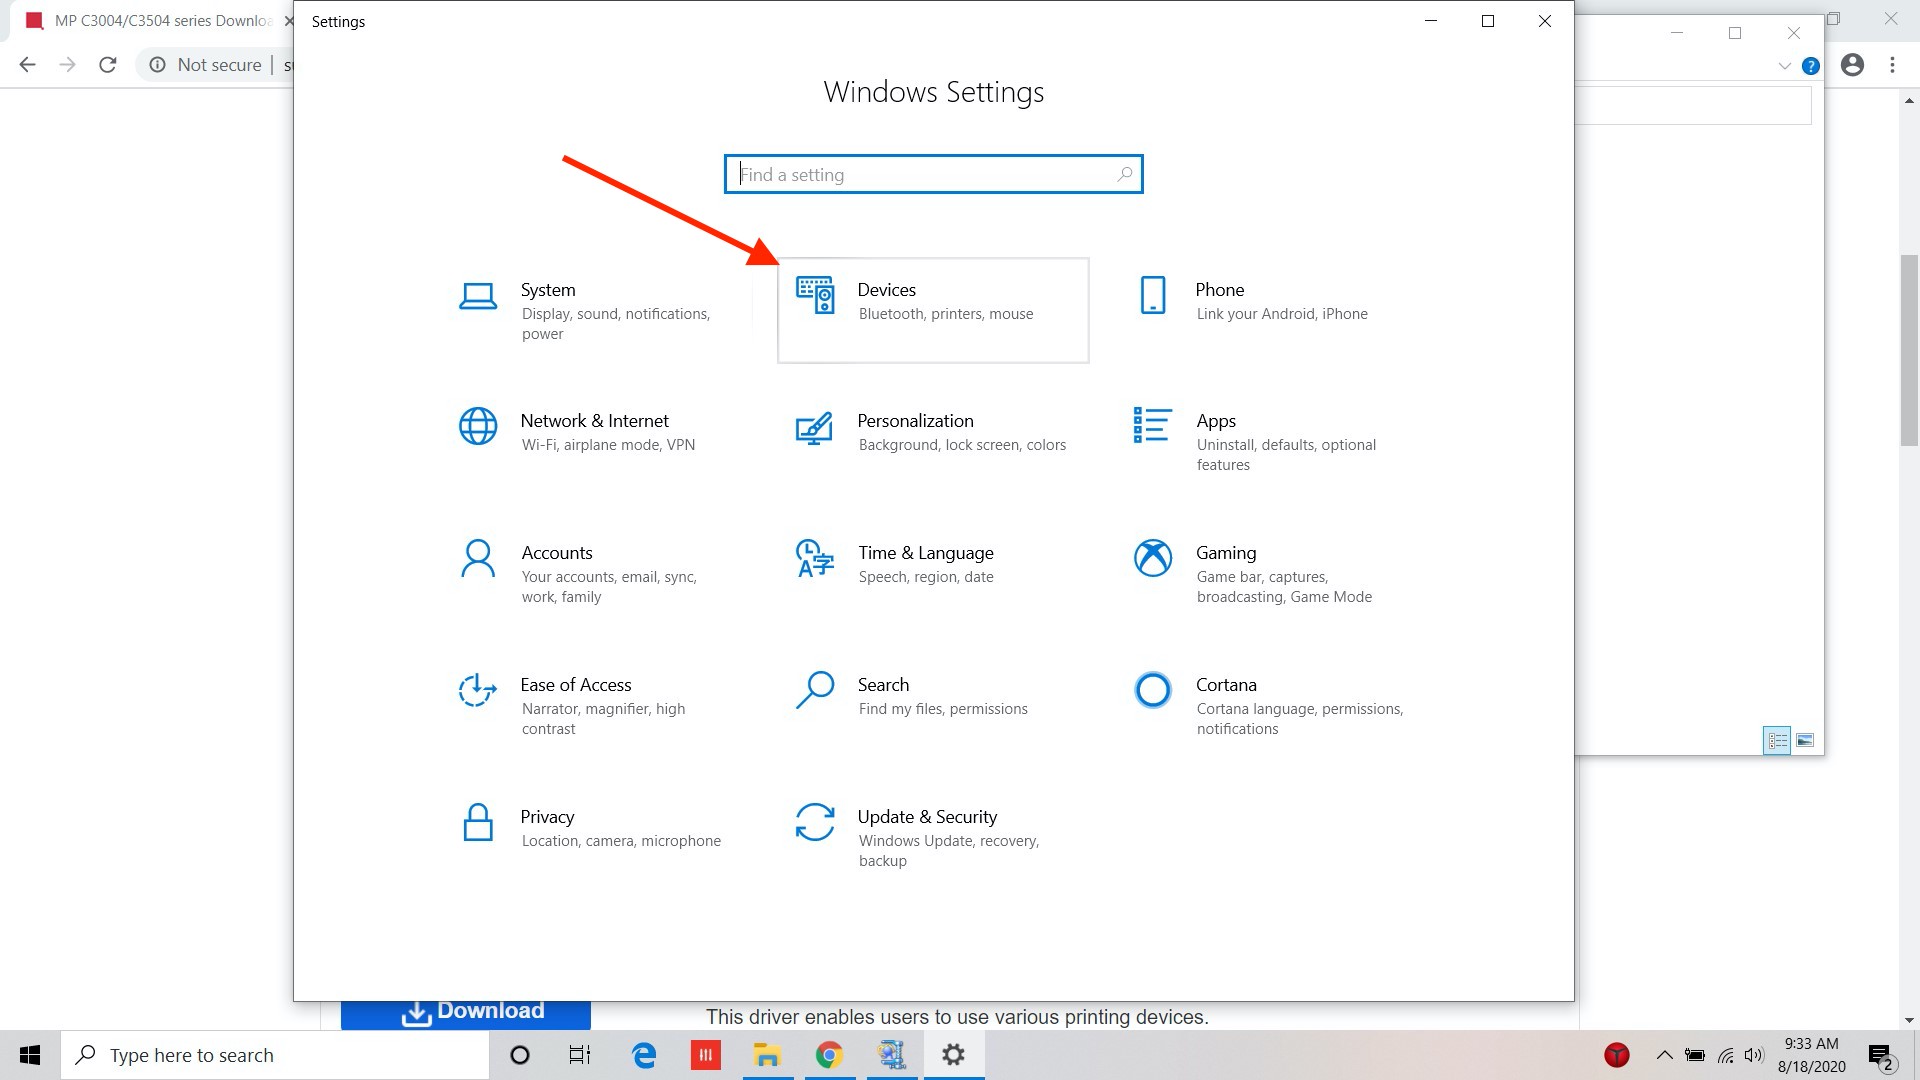
Click on the Window icon in the bottom left corner to open the menu. Select Settings.

Click on Devices
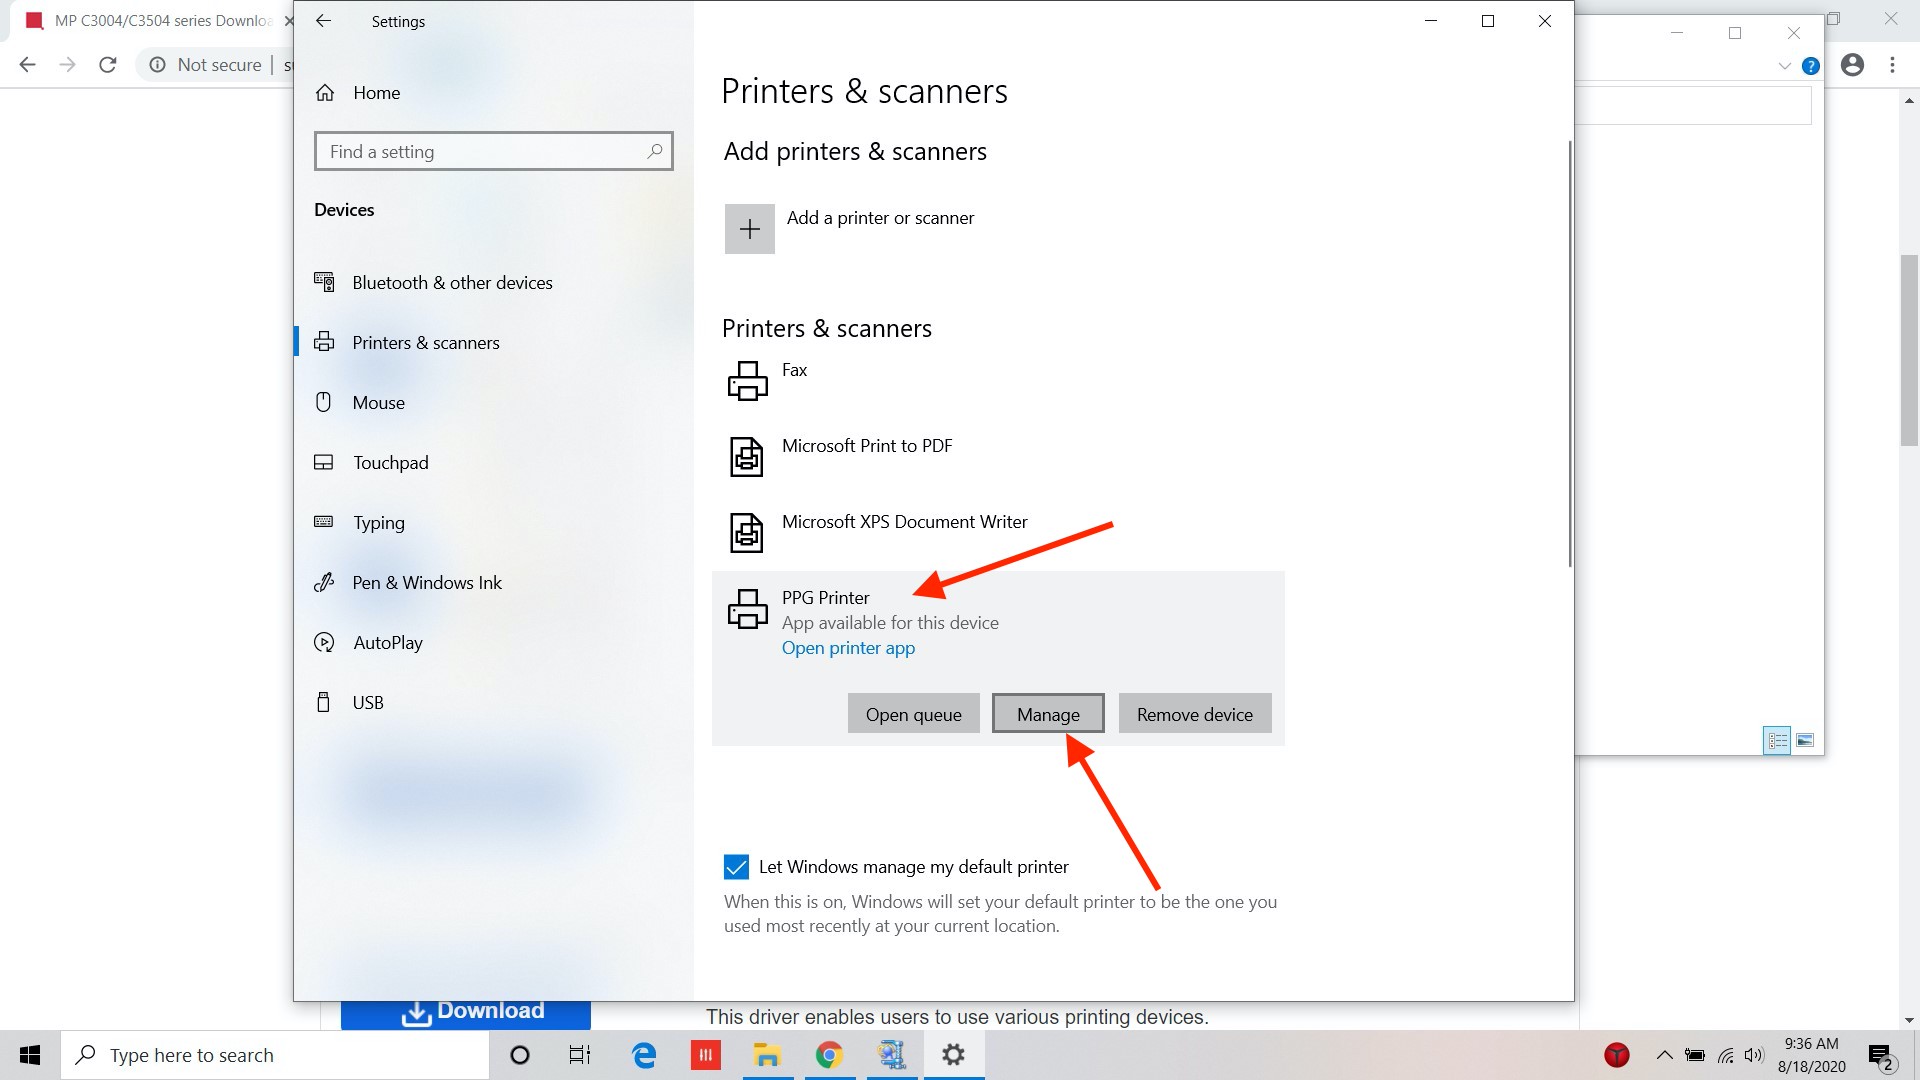
Select Printer & Scanners

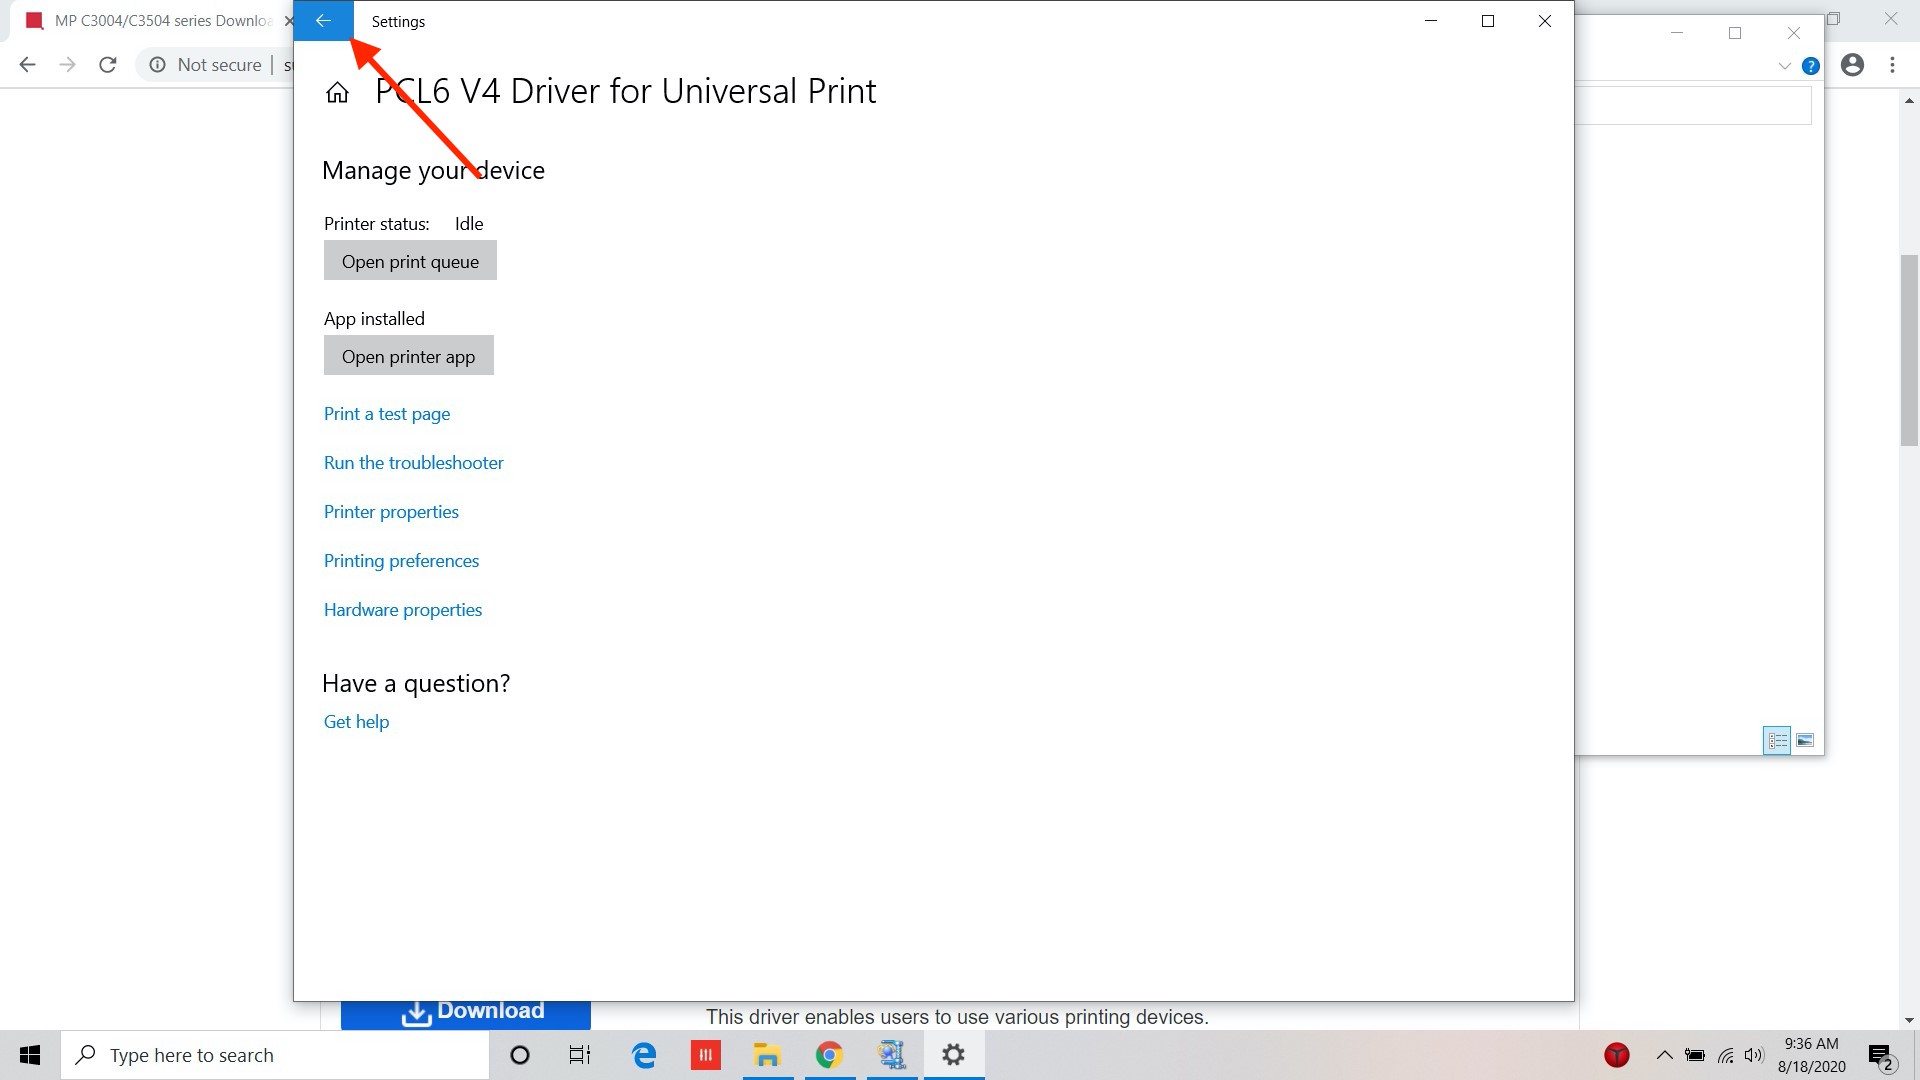
Look for a printer icon with the name PCL6 V4 Driver for Universal Print and hit "Manage"

Click on Printer Properties:

Under the General Tab, Change the name to PPG Printer and hit OK.

Click the arrow in the top left to go back.
Click PPG Printer and Click Manage:
Click on Printer Preferences (you may need to click a few times for it to open)

Click on User Code Setting
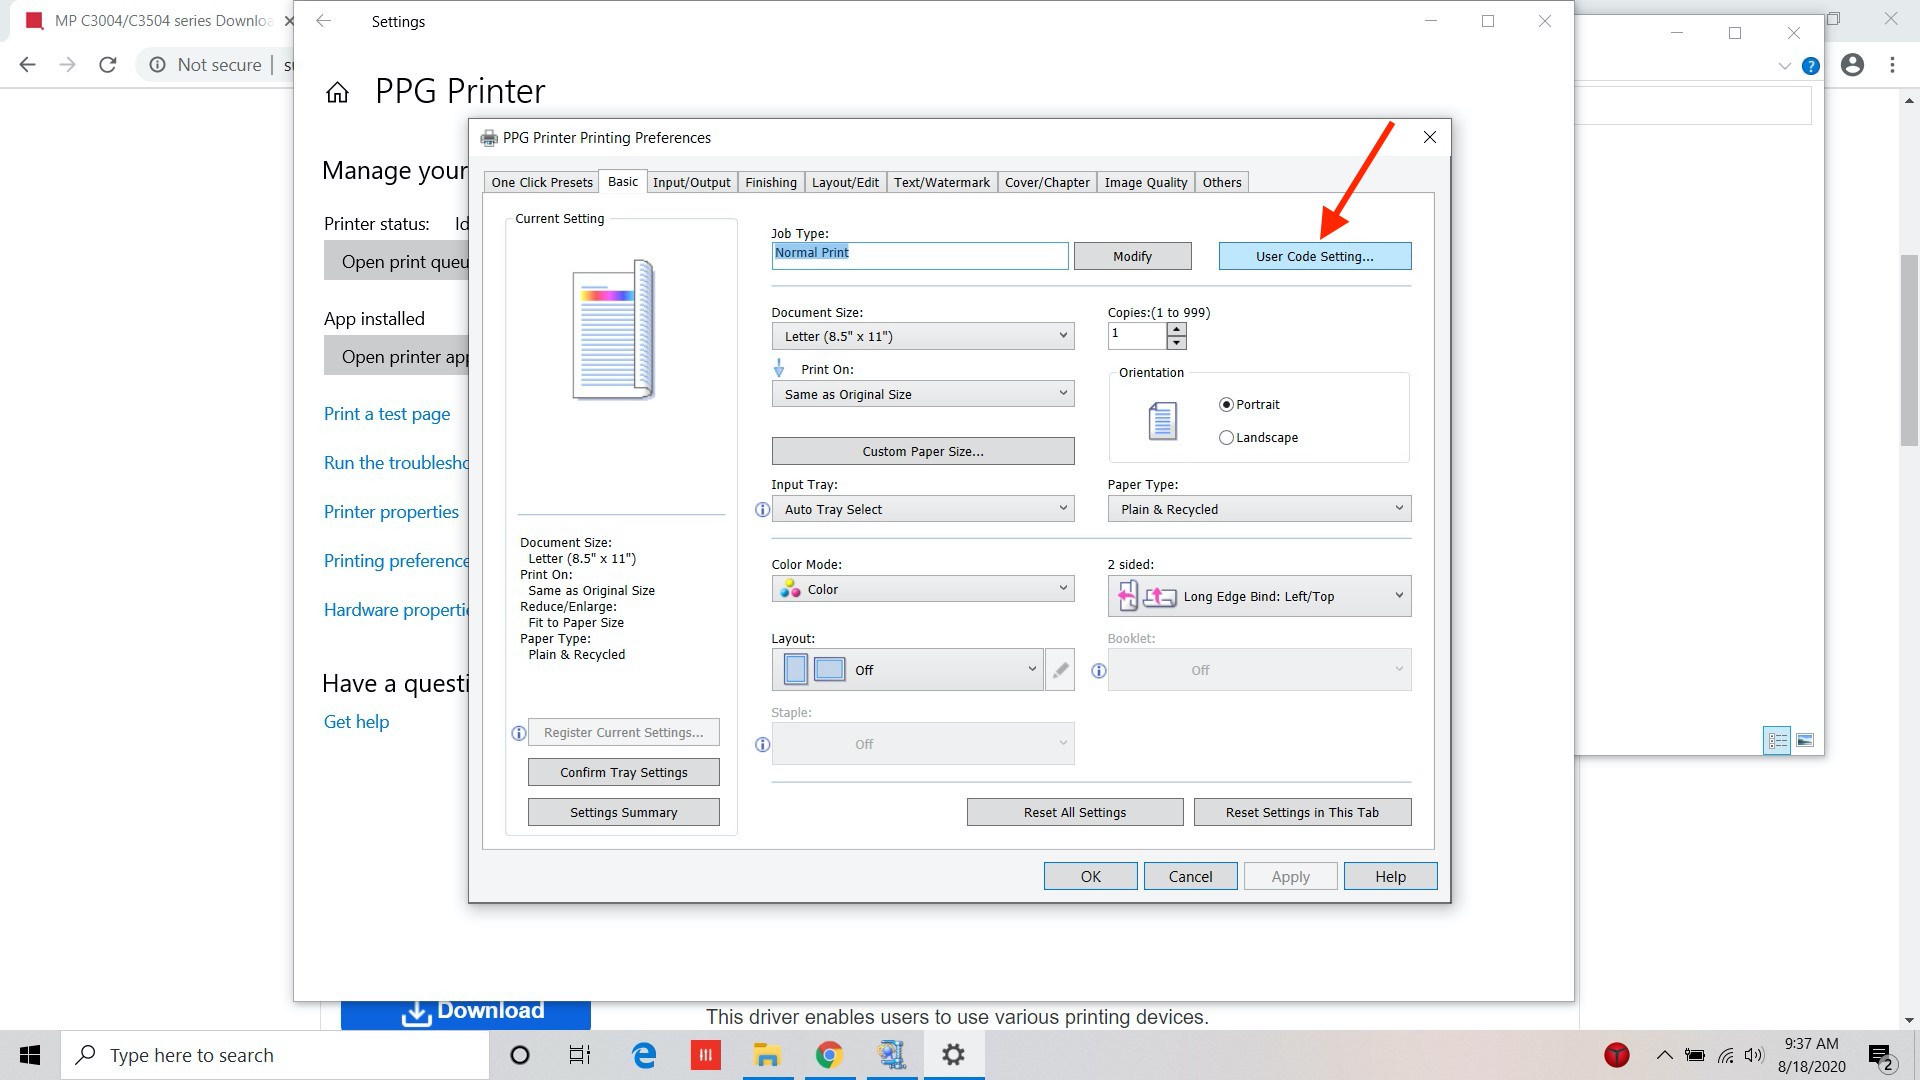
Enter in your Printer Code and Click OK

Change any other settings you wish and click Apply.
